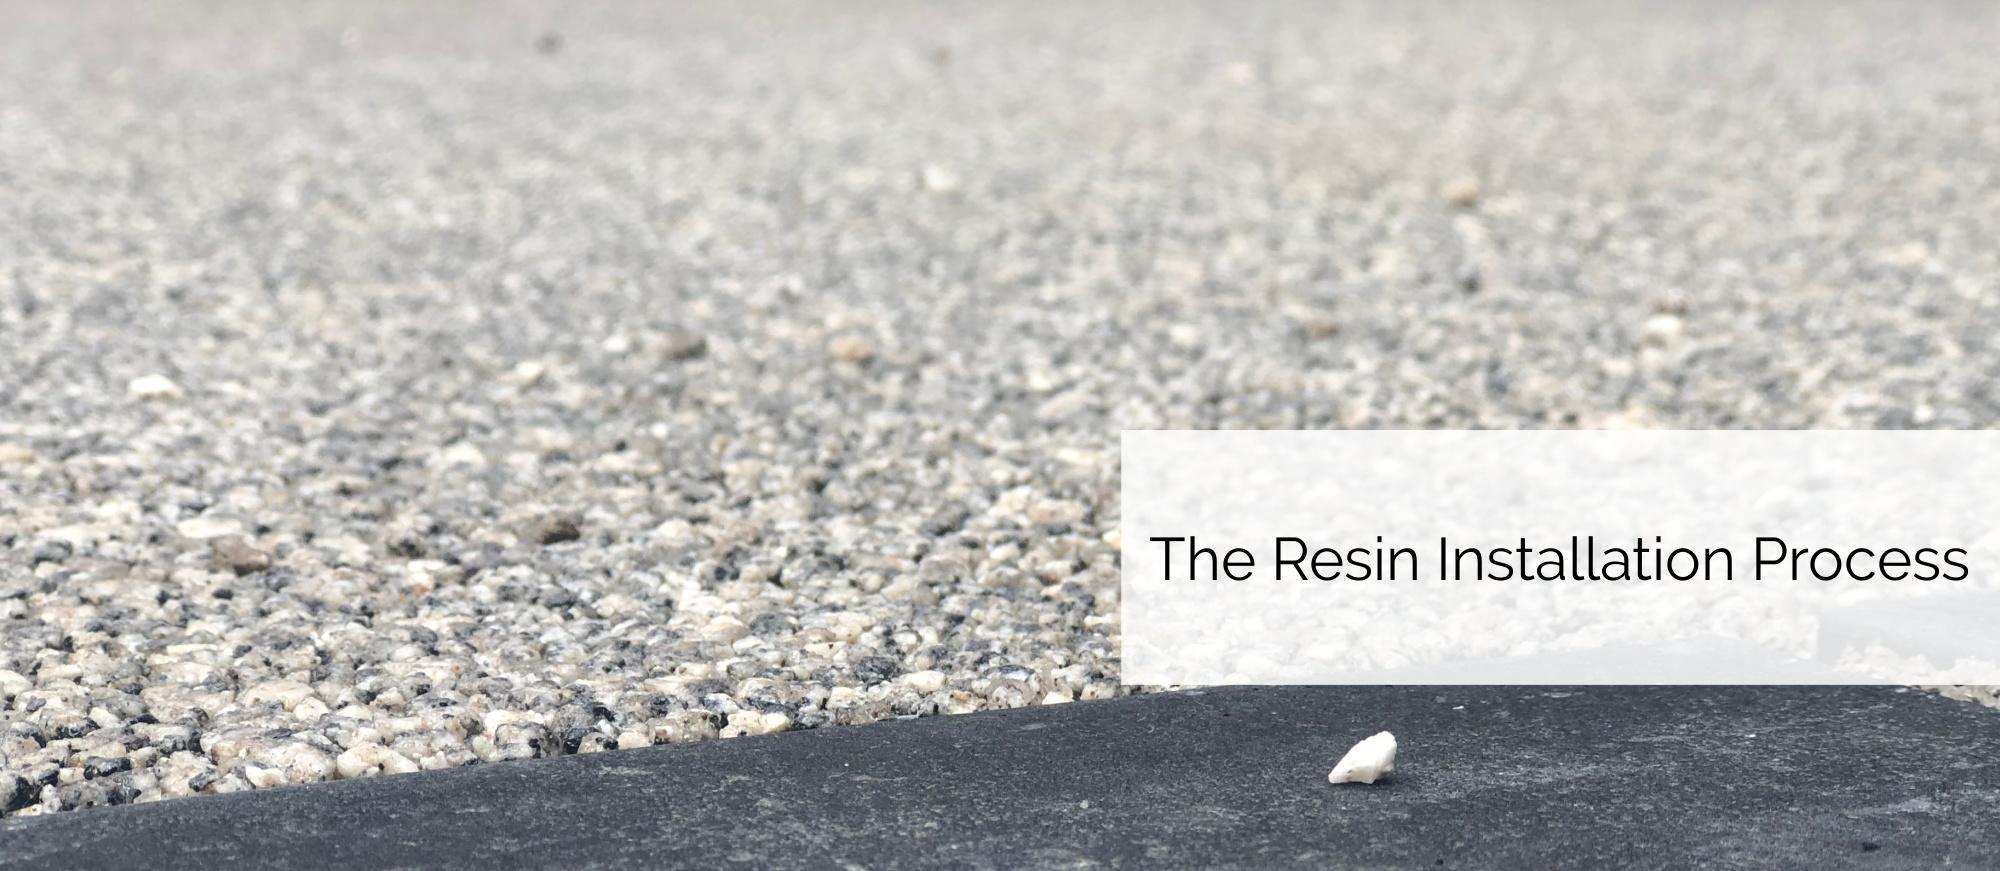
Resin Installation Methods
At your site survey with one of our team members, we will establish if we will need to construct a new sub-base or can overlay an existing surface. The preparation of the sub-base is key to a long lasting excellent resin surface.
We will remove the current surface: paving, grass, flags, etc and then scrape back or dig down, until the required level. A new sub-base will be built up with a minimum of compacted 150mm MOT type 1 and compacted down, to ensure a suitable solid surface.
The next layer will be permeable asphalt, which is our preferred method, and is a good option for areas prone to flooding and therefore, ensures your dea is SUDS (Sustainable Urban Drainage Systems) compliant.
At this stage, we will require a 3-4 week drying time before we can return to lay the final layer of resin. This is to allow all the chemical residues to leave the asphalt, before the resin is applied. You will be able to park on the asphalt, whilst waiting for the resin.
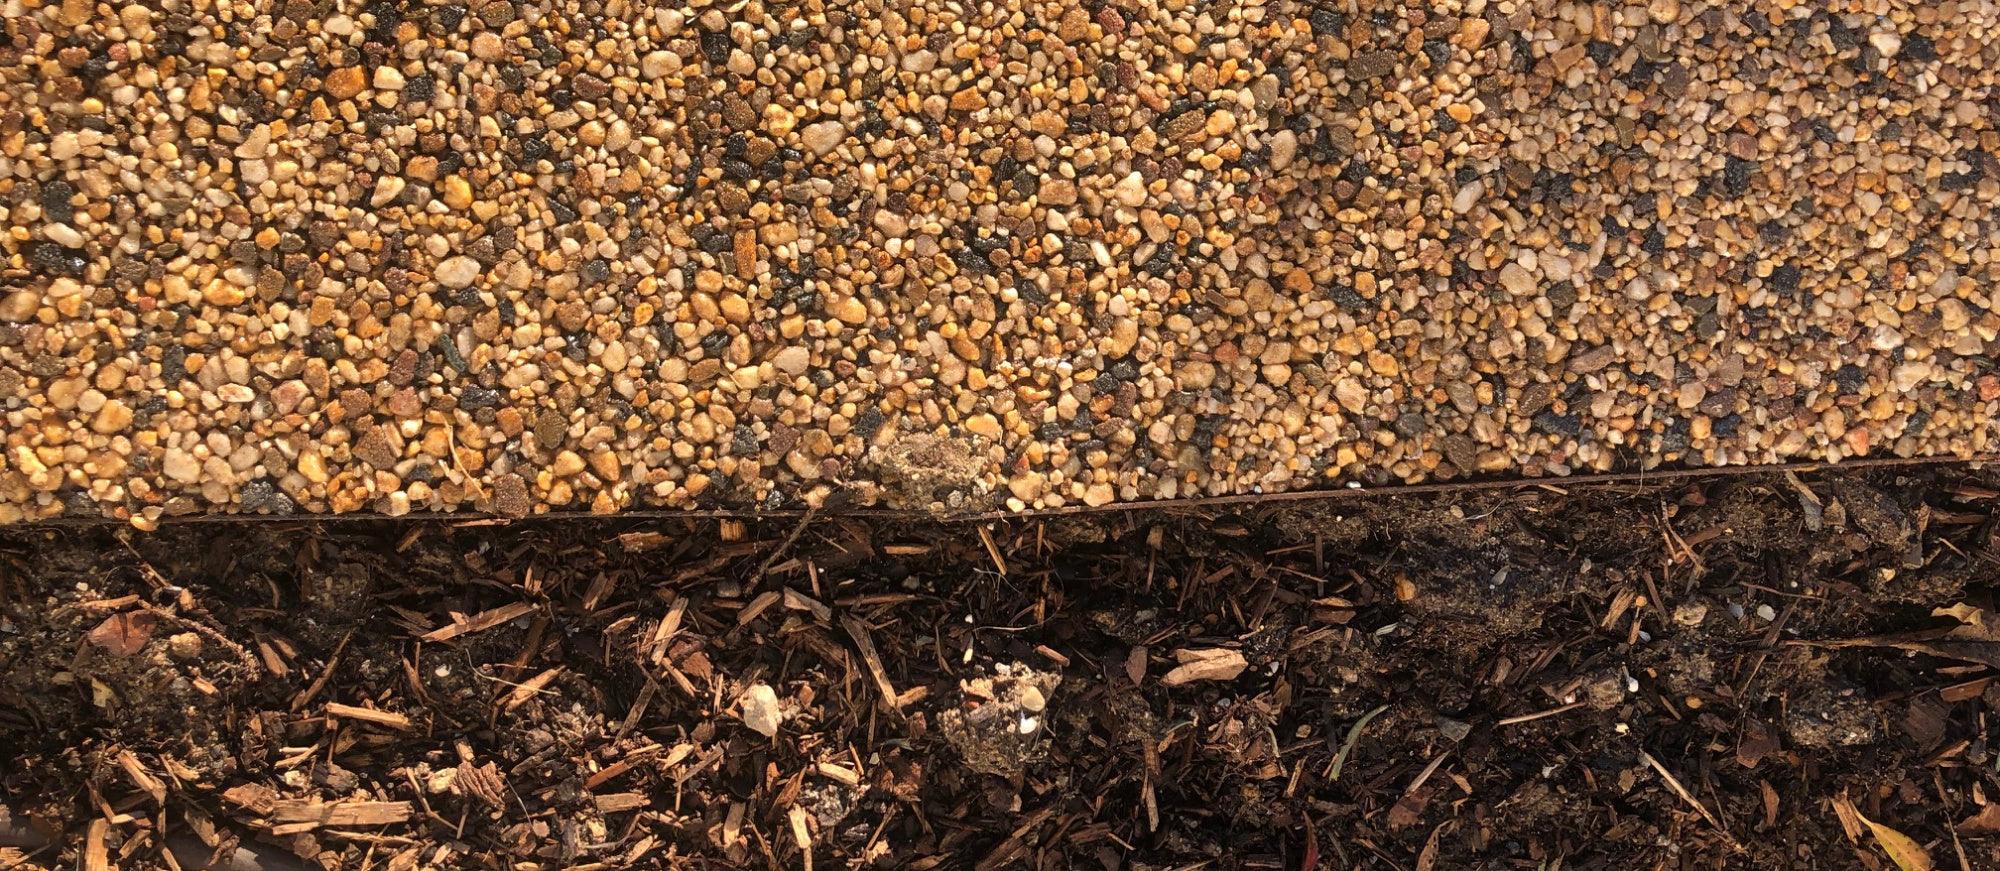
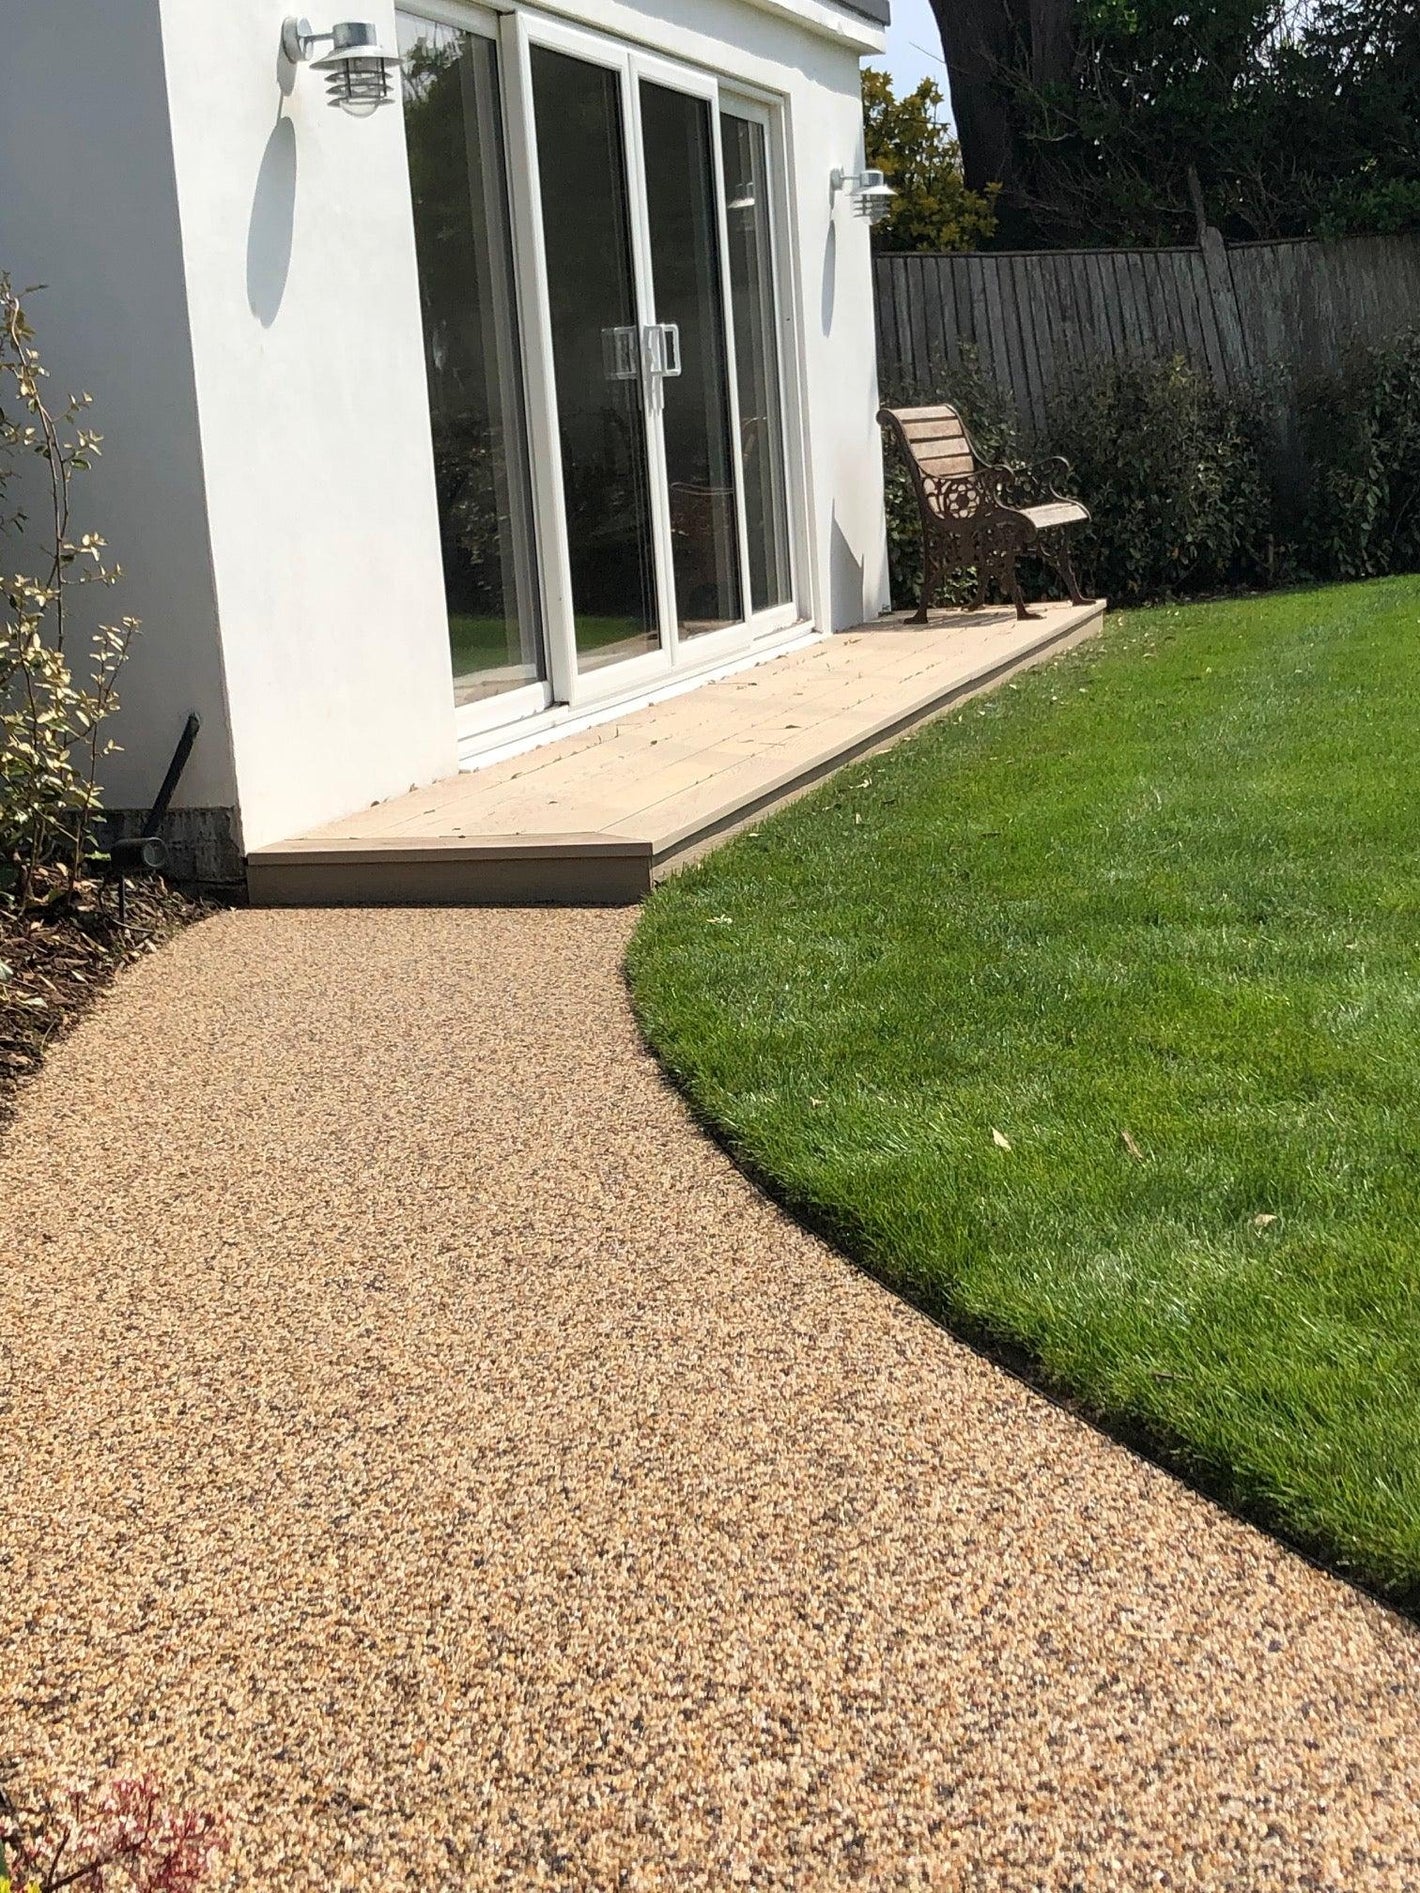
The UV Bound Resin Surface will be laid at a minimum of 15mm to 18mm for driveways and 2mm to 15mm for walkways. This is when your surface really comes alive! Our installation team hand screed, to ensure a minimum depth as above, across the whole installation.
Please note, that the resin surfaces should not be installed in the rain. We will manage and update you at all times for installation dates and any change of days.
Let's Chat!
Fill out the form below! Make sure to tell us what you love on the website so that the right member of our team can get in touch. It also means we can send the right brochures and more inspo!
Contact form